In this guide, I will teach you how to create a Gold Image within Virtualbox. The biggest reasons to have a Gold Image is that it saves you time and makes operations more efficient, as you do not have to go through the setup process for every VM that you create.
Step 1: Create a VM. If you followed my guide for Install Linux (Centos 9 Stream), then you will already have a VM created.
Step 2: With the VM Shutdown, Select File > Export Appliance.
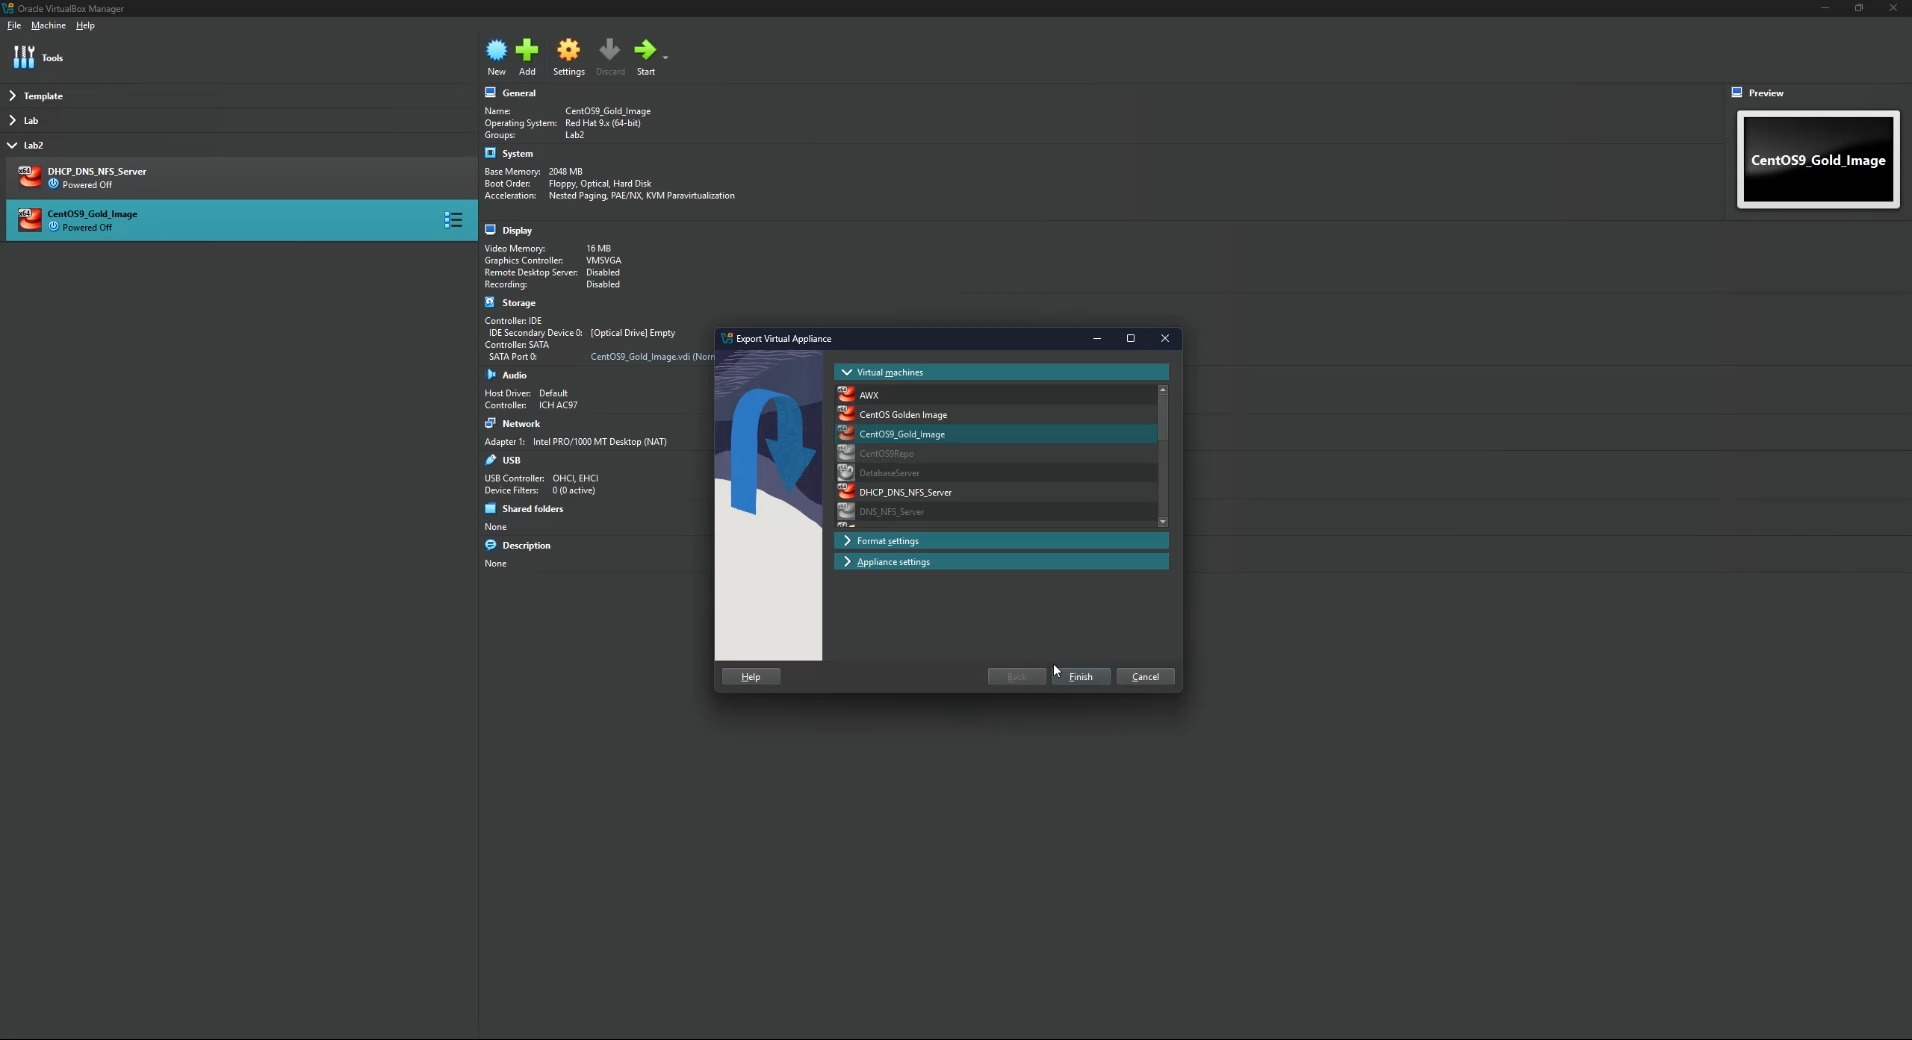
Step 3: Under Virtual Machines, select the VM that you want to create a Gold Image from.
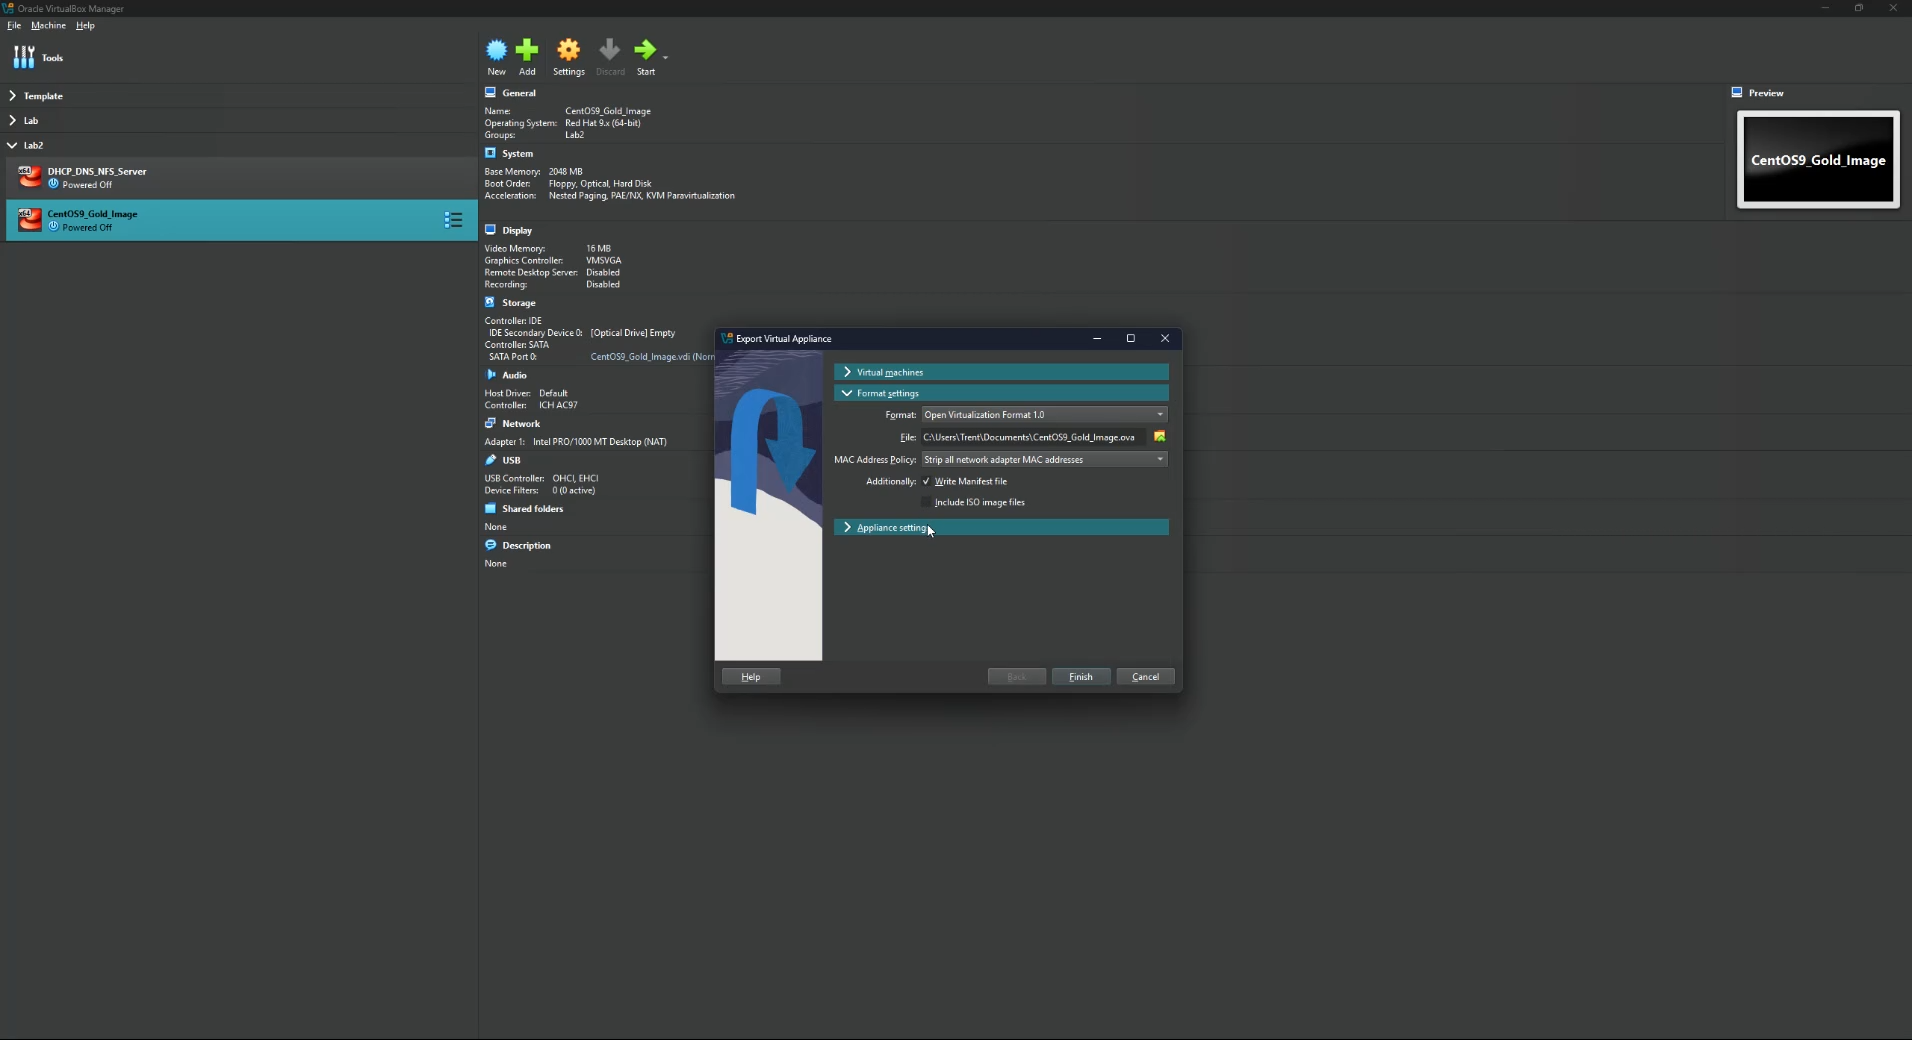
Under Format settings, select the format that you want to export it as. I have left this default.
Select the location where you want the .ova file to be placed.
For MAC Address Policy, I have selected Strip all network adapter MAC addresses, as we will be regenerating the MAC addresses when creating a new VM anyway.
Under Appliance settings, change the Name of the Image to one that makes sense to you.
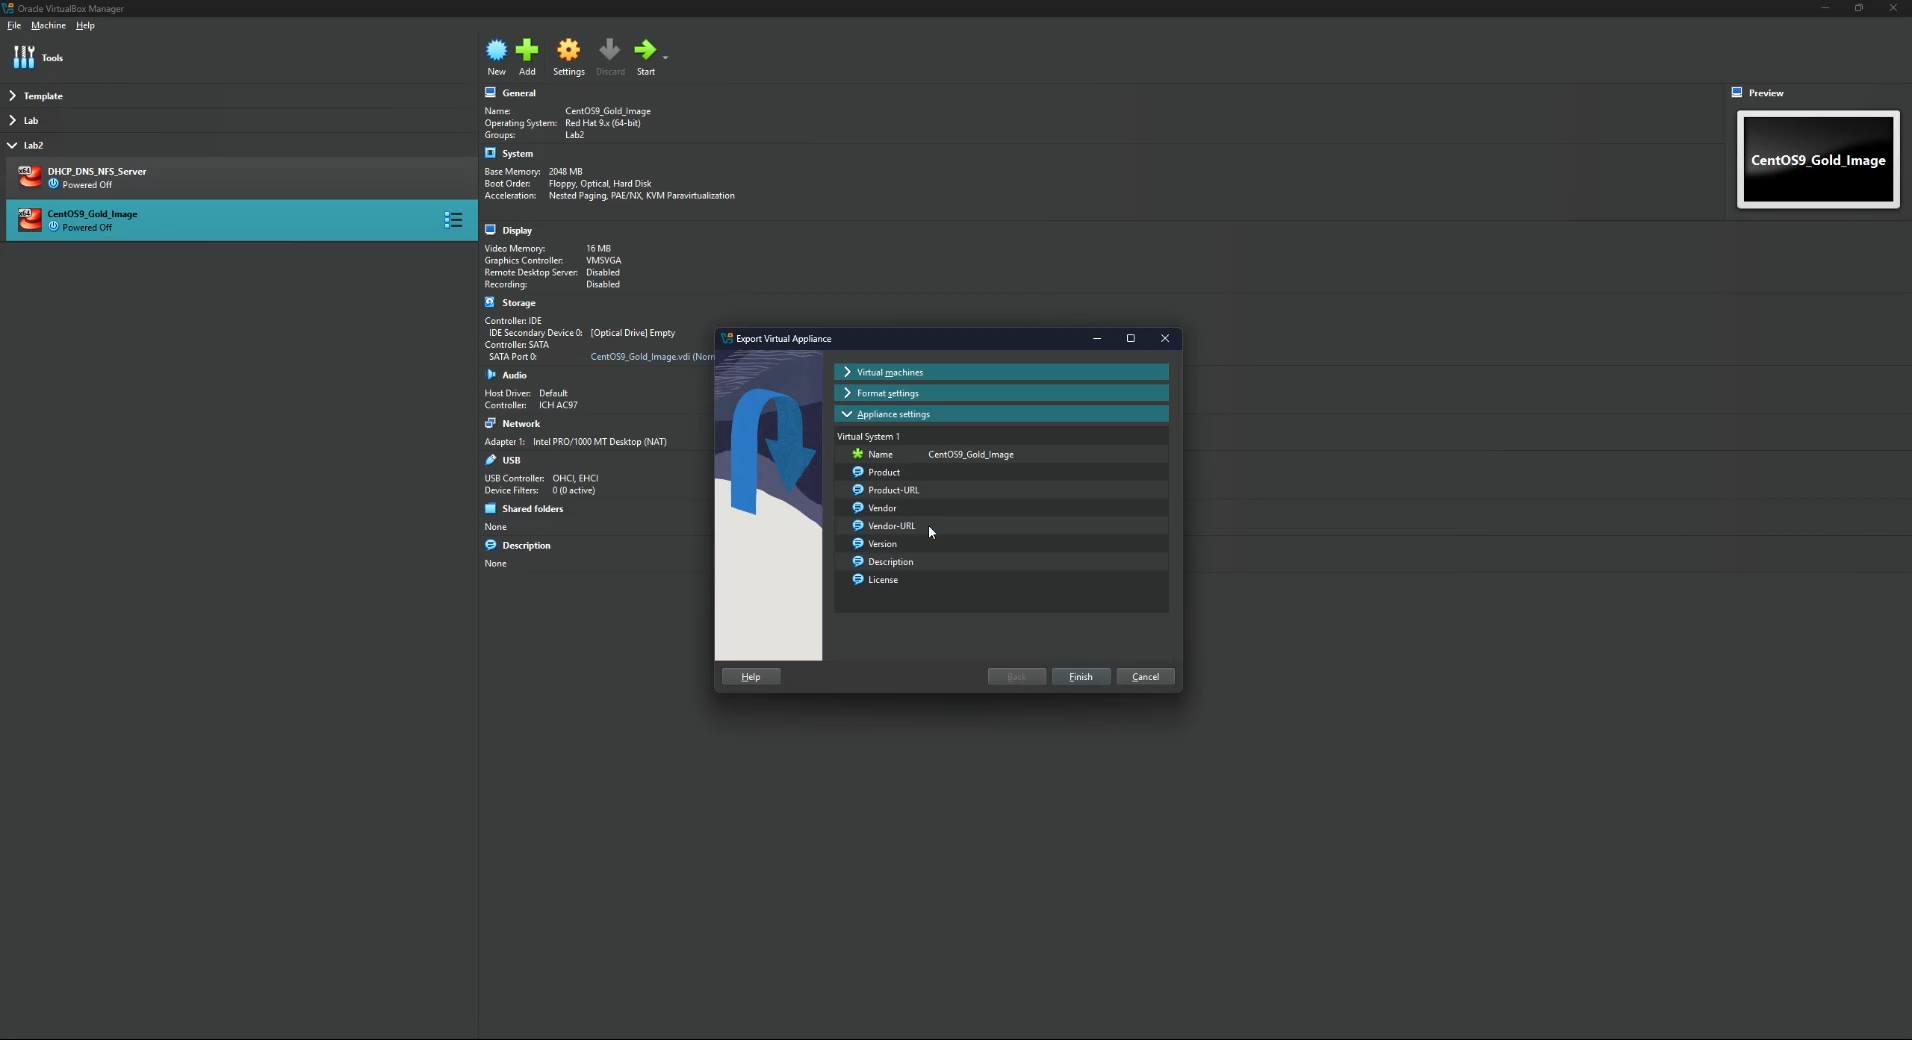
Leave everything else default and click Finish.
Your Gold Image is now created.