For this demonstration, I will be creating a new VM within Oracle Virtualbox. Feel free to use any virtualization software that you prefer, but the steps to setup the VM will differ.
Step 1 – Create New VM
Once Virtualbox is open, click on the New button.

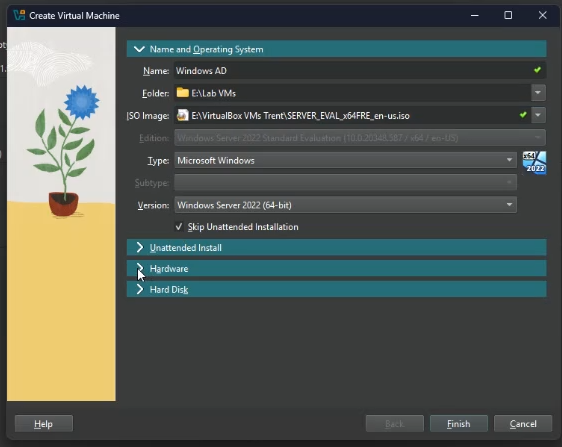
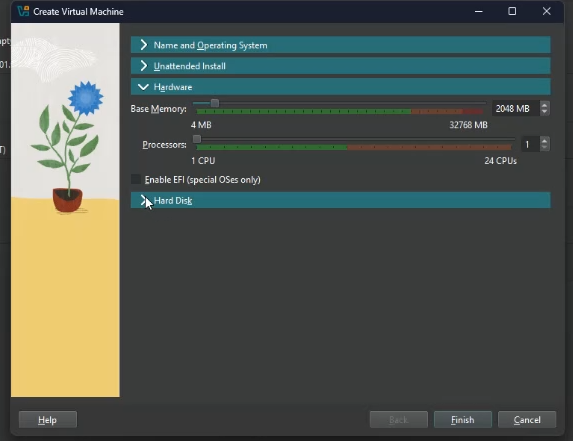
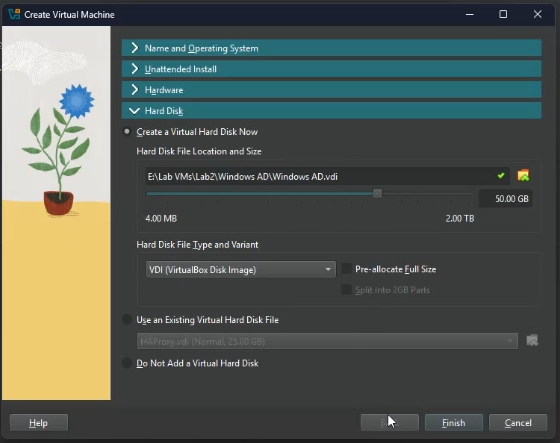
Create a Name for your VM, select the folder where you want the VM files to be stored, select the ISO image (I am using Windows Server 2022 ISO located here), and assign how much memory and CPU cores you’d like for your VM to have. Click Finish once done
Step 2 – Setup Operating System
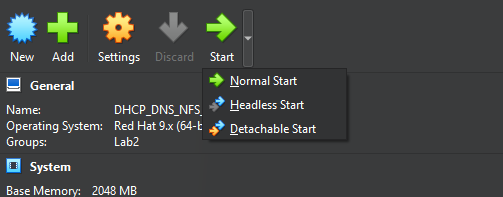
Once created, click on Start to boot the VM using the ISO. You can click the arrow next to Stat to either boot the VM using a Headless Start or Detachable Start.
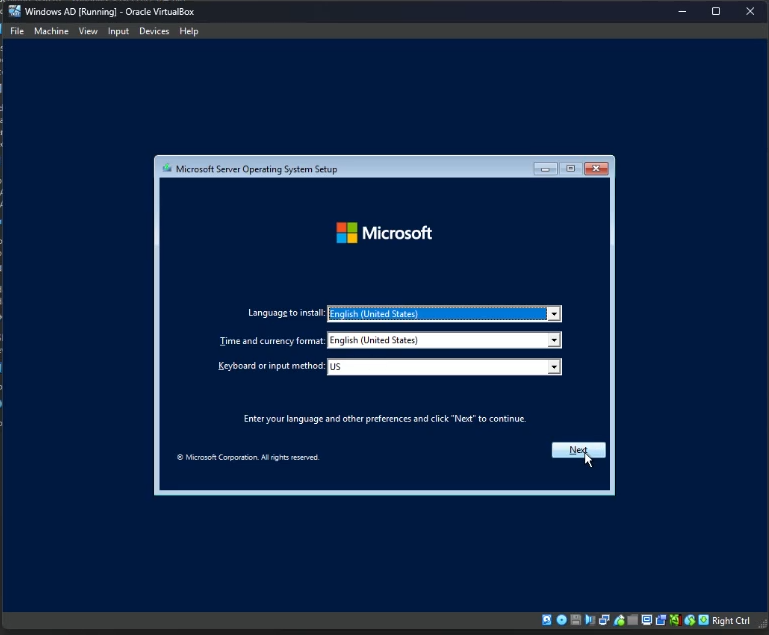
Once the system boots, you should be at a screen named “Microsoft Server Operating System Setup”. Edit the options to your needs and click Next.
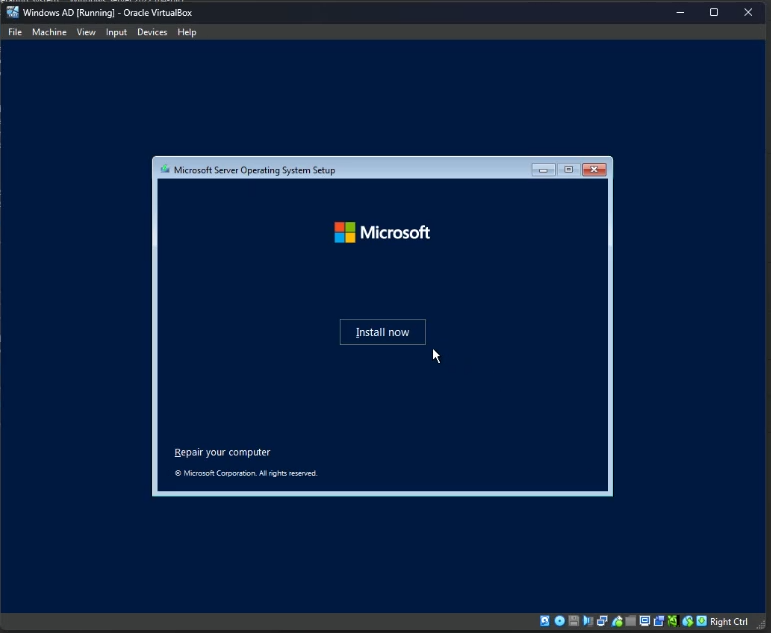
Click “Install now”.
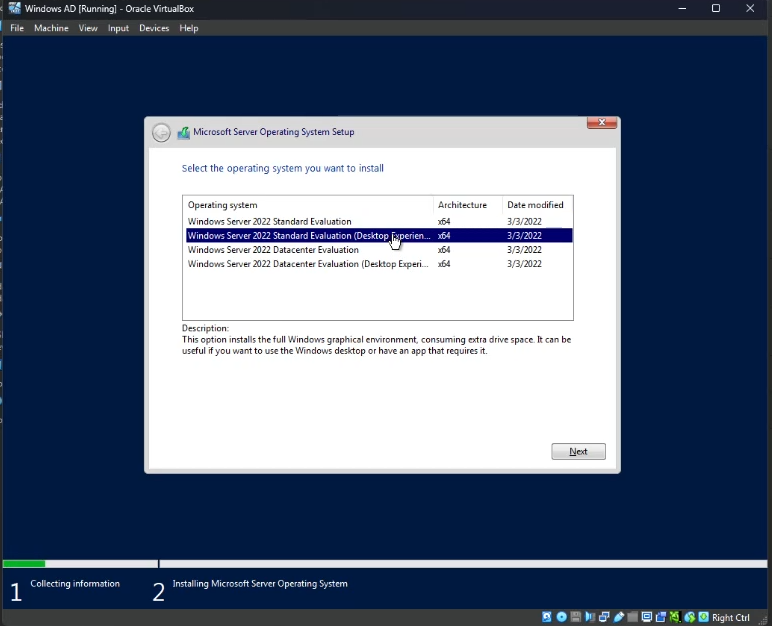
For installation with Desktop/GUI (Graphical User Interface), select “Windows Server 2022 Standard Evaluation (Desktop Experience). If you do not select Desktop Experience, you will not get the full graphical environment. Click Next.
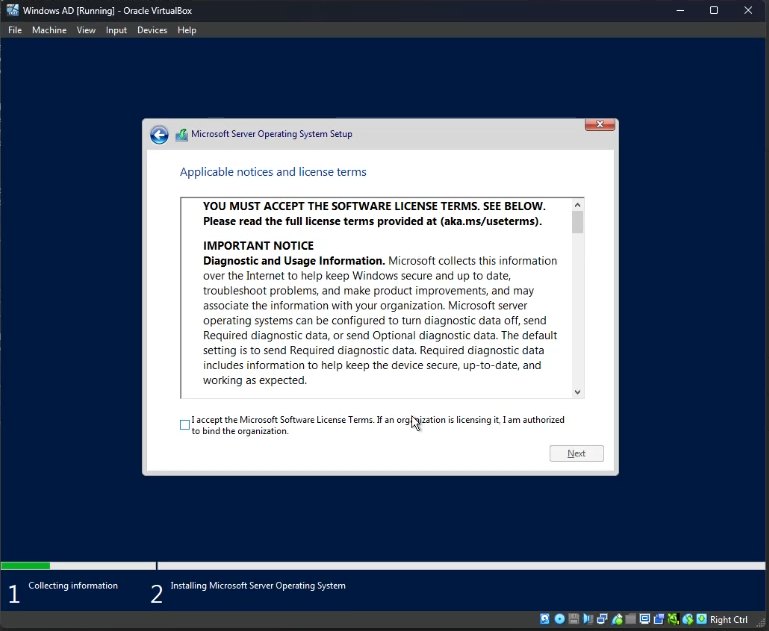
Click the check box to accept the license terms. Click Next.
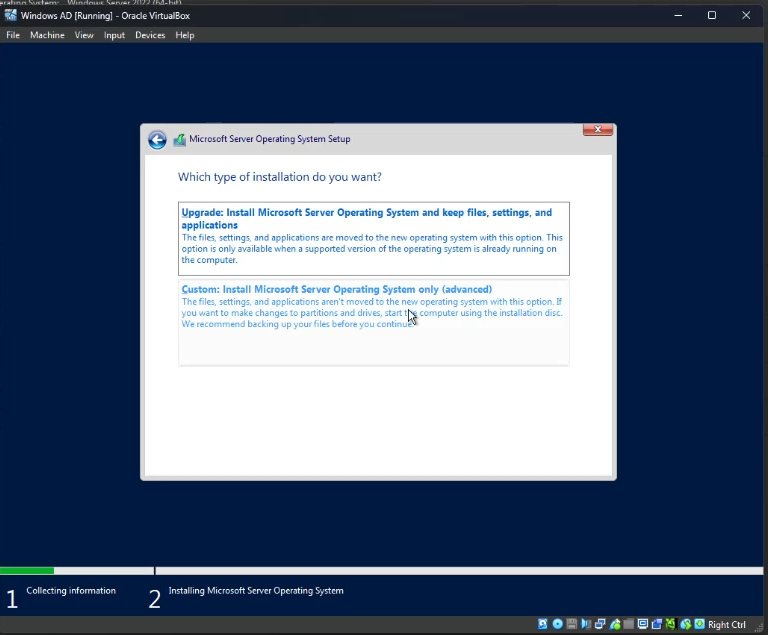
Under “Which type of installation do you want?”, select Custom.
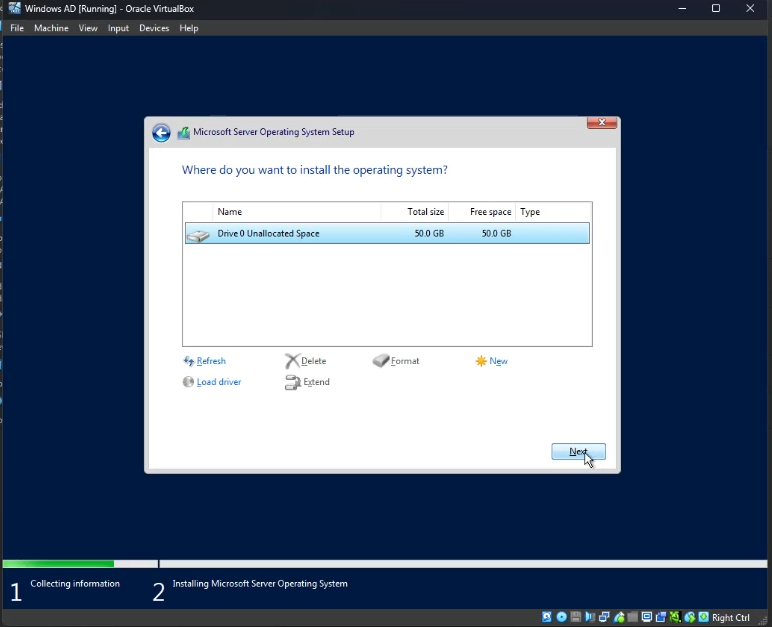
Under “Where do you want to install the Operating system?”, ensure Drive 0 is selected (unless you want to install it on a different drive) and click Next.
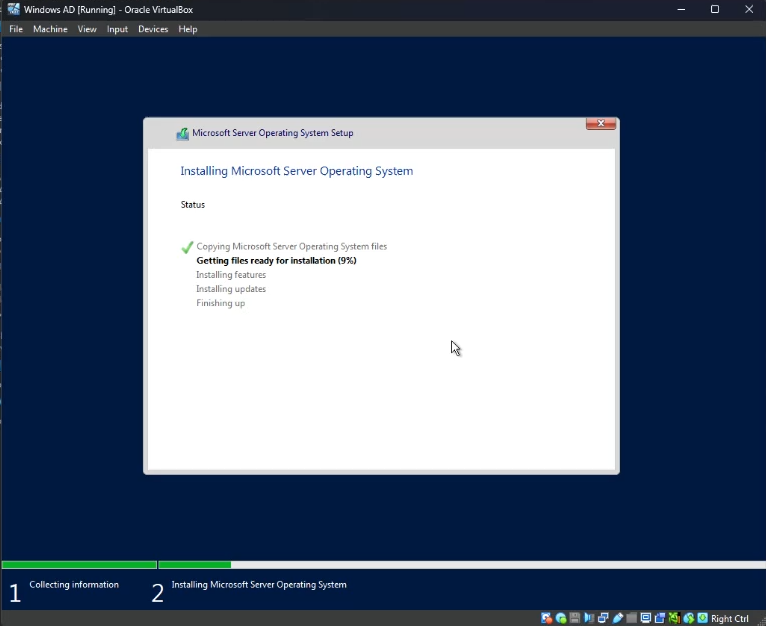
The OS should now begin installing. It should take roughly 4 minutes to complete this process.
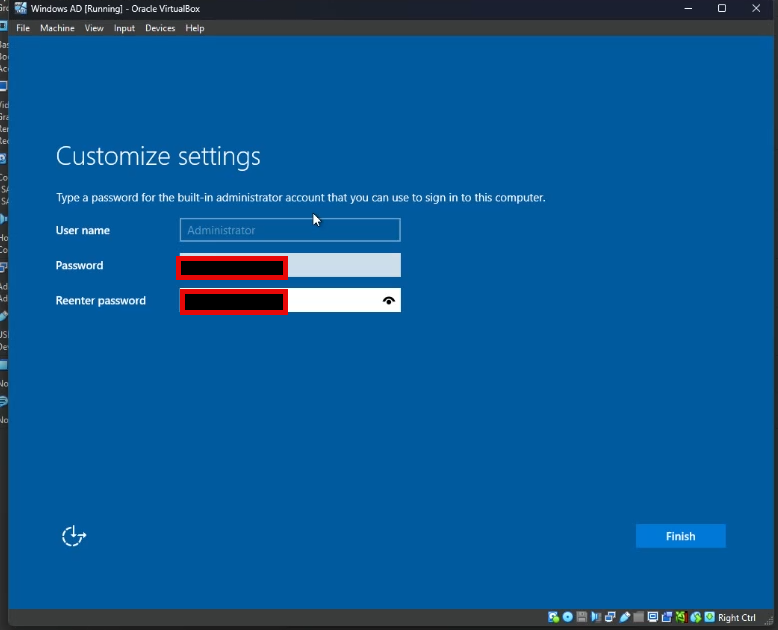
Once completed, you should be at a screen asking you to set the Administrator password. Enter a password that is somewhat complex. A short password that is easy to guess will not work.
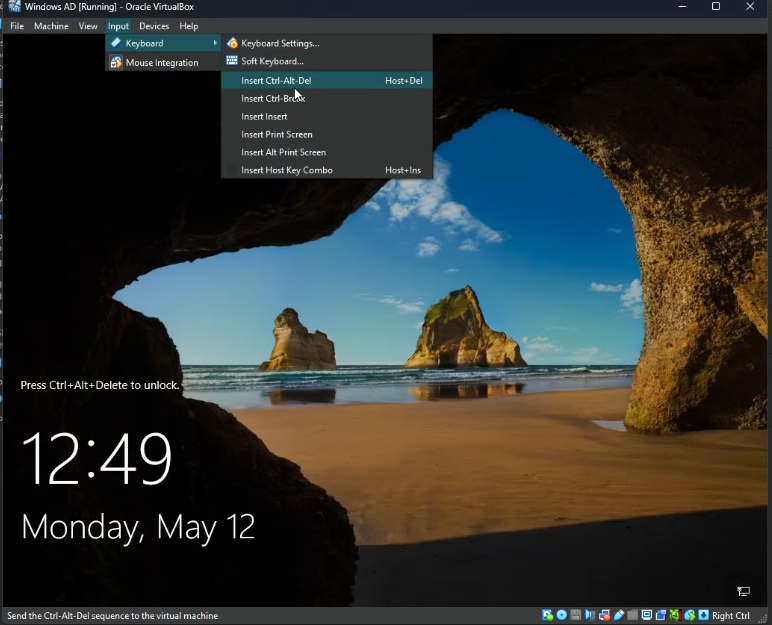
Once completed, you should be at a screen asking you to press Ctrl + Alt + Delete to unlock. As this is a VM, this button combo will bring up a menu for your local PC. Within the VirtualBox menu, select Input at the top, Keyboard > Insert Ctrl + Alt + Del. Then enter the Administrator password you just set.
You are good to go! Windows Server 2022 has been installed.