For this demonstration, I will be creating a new VM within Oracle Virtualbox. Feel free to use any virtualization software that you prefer, but the steps to setup the VM will differ.
Step 1 – Create New VM
Once Virtualbox is open, click on the New button.

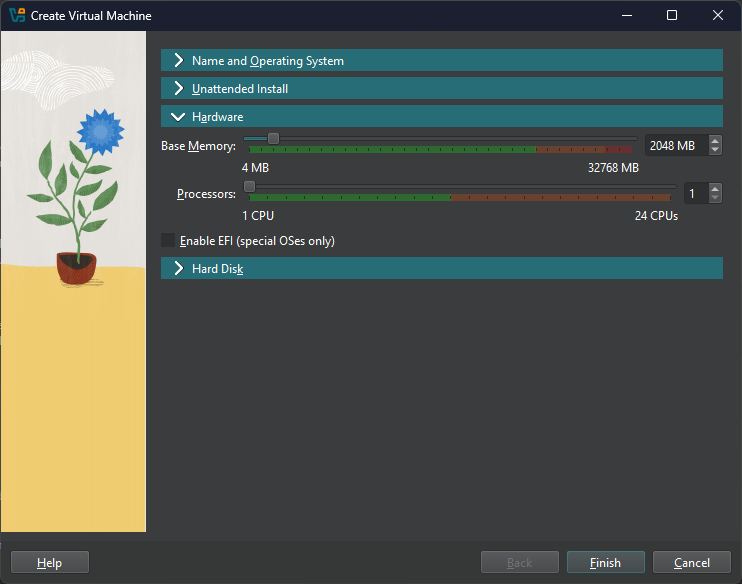
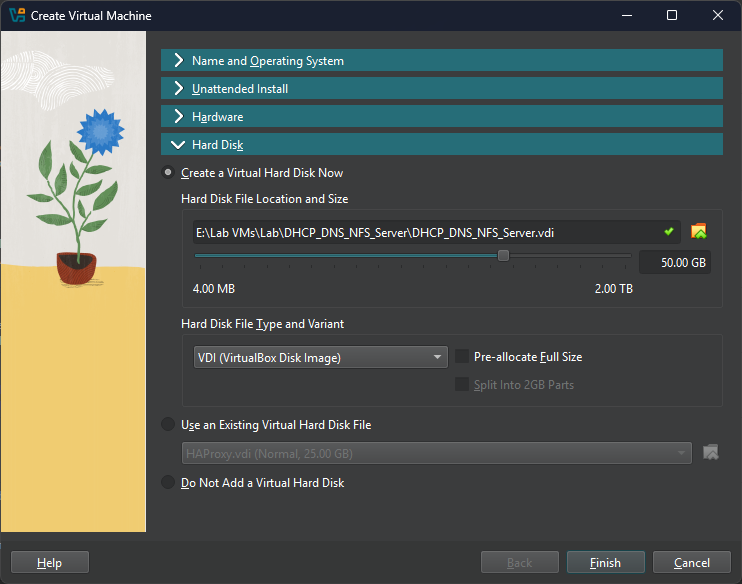
Create a Name for your VM, select the folder where you want the VM files to be stored, select the ISO image (CentOS Stream 9 Download), and assign how much memory and CPU cores you’d like for your VM to have. Click Finish once done

Step 2 – Setup Operating System
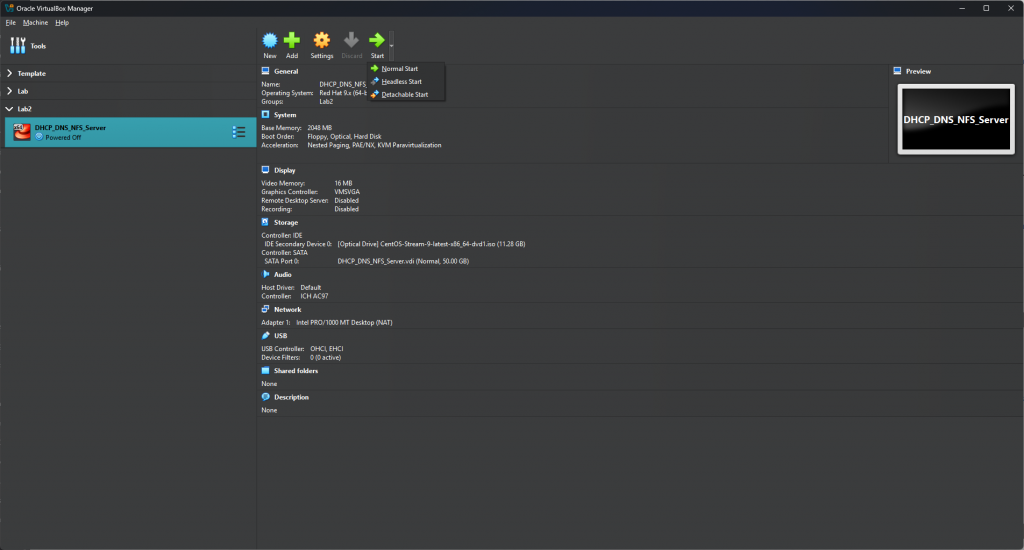
Once created, click on Start to boot the VM using the ISO. You can click the arrow next to Stat to either boot the VM using a Headless Start or Detachable Start.
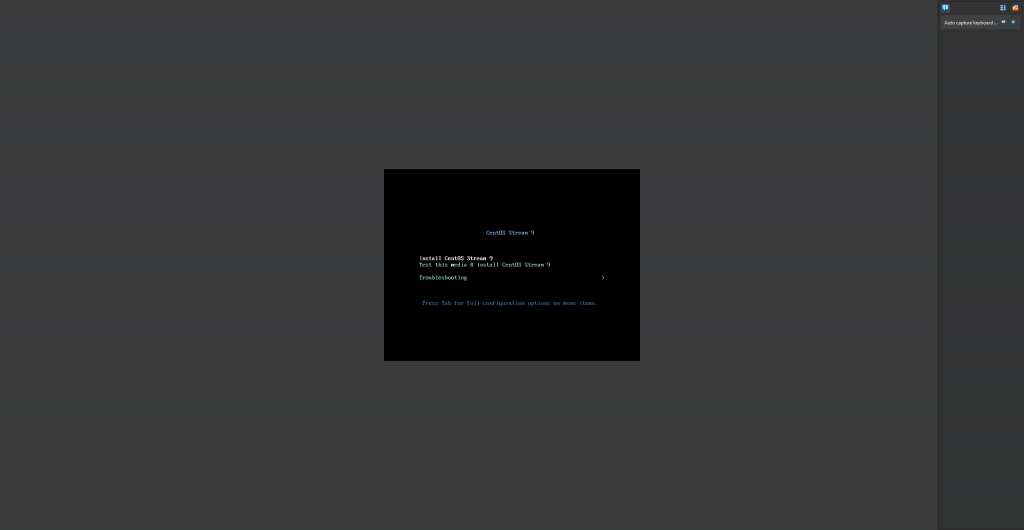
Once the system begins booting, select “Install CentOS Stream 9” in the console window.
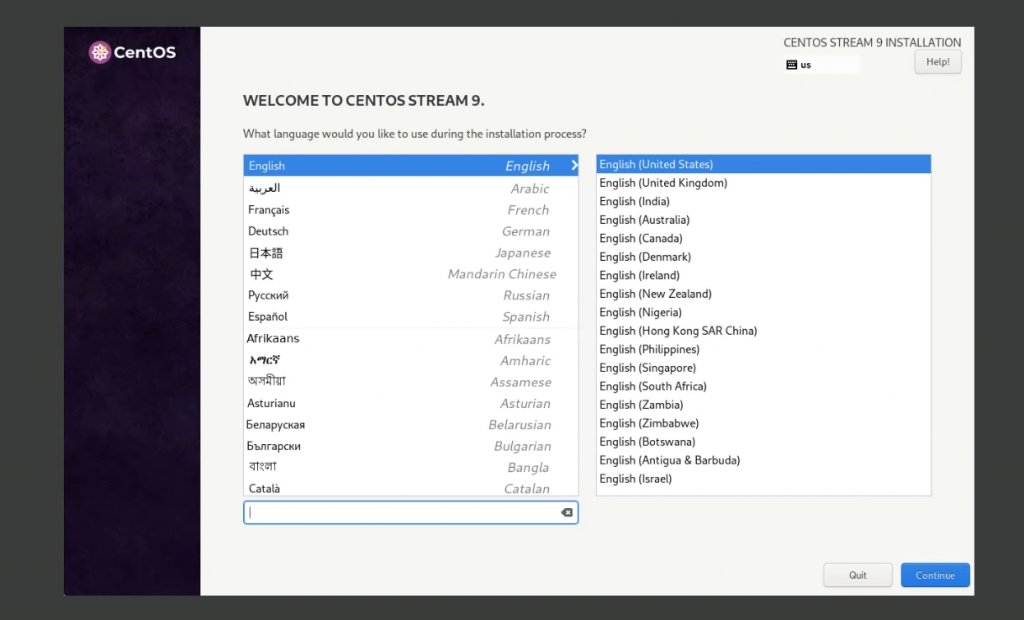
Select your Language, then click Continue.
On this next screen, there are a lot of options, but I will cover a few.
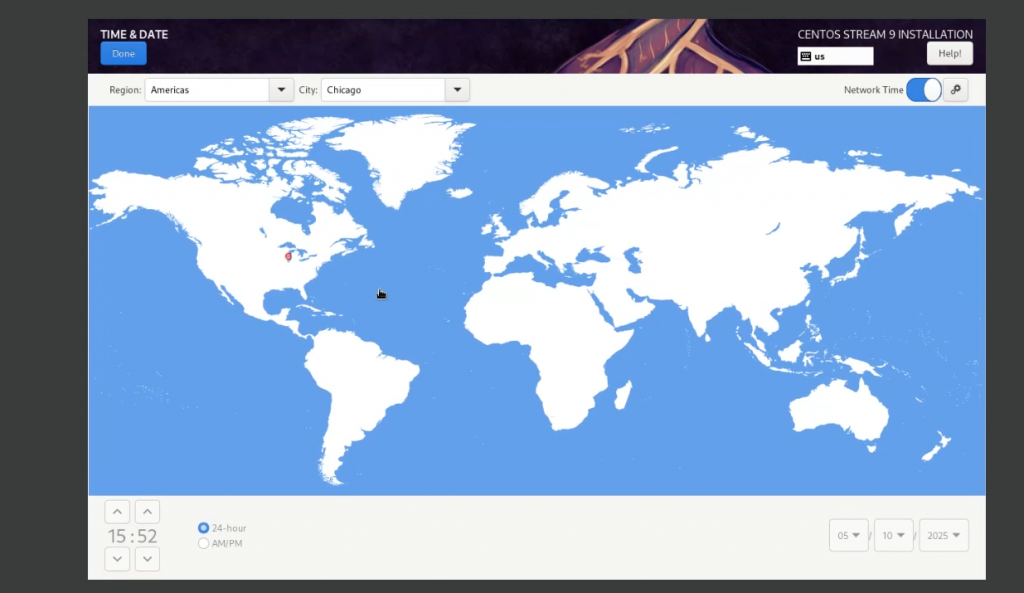
For Time & Date, select your correct Time Zone based on the Region and City that is within your time zone. If your network interface is working, you will see Network Time enabled in the top right, along with the correct time in the bottom left.
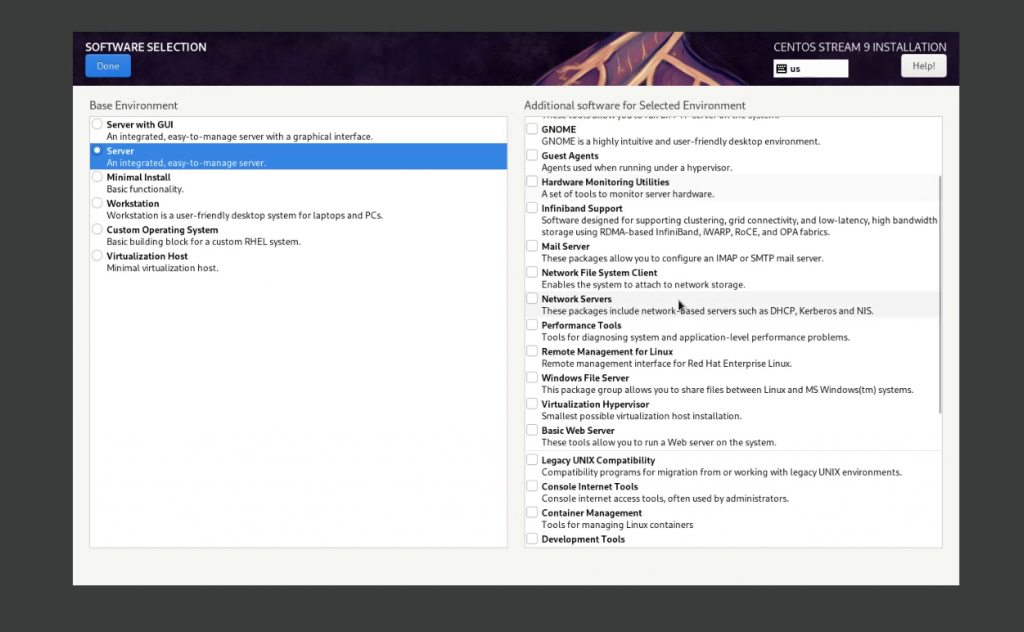
For Software Selection, this is where you will be able to choose between options like Server with GUI, Server only, Minimal Install, as well as additional software that will already be installed for you to use immediately. For this demonstration, I will select Server with no additional software.
For Installation Destination, this is where you can select the Disk that the OS will be installed on, as well as assign specific filesystems to have specific sizes. For this demonstration, will leave everything default. (Note: If you use an existing disk, you will have to either assign a new disk or reclaim the space).

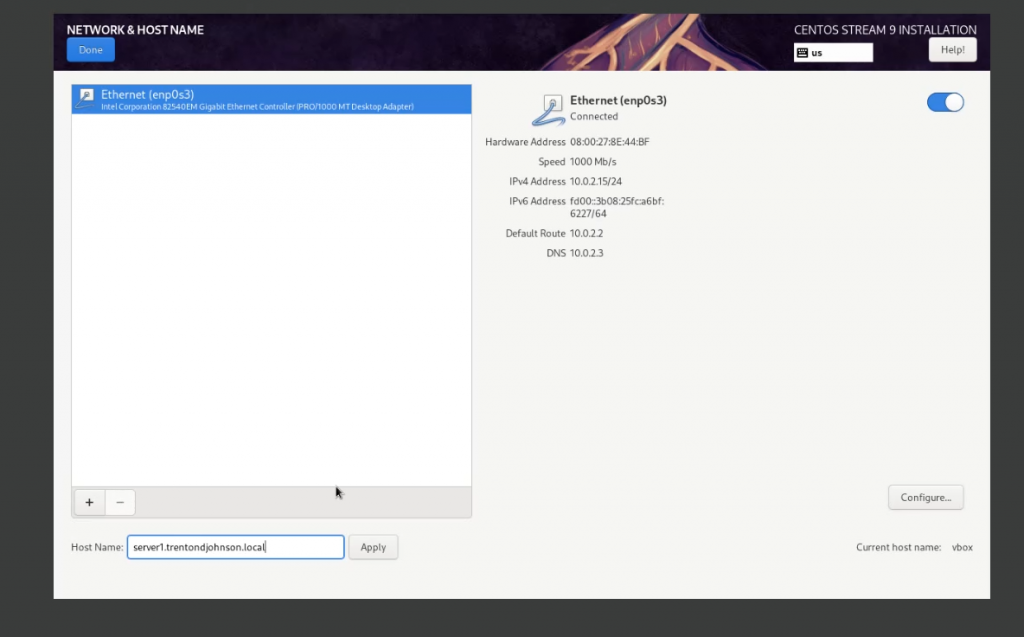
For Network & Host Name, the main thing I focus on is the Host Name in the bottom left. Type in a name that you will like to call this server and click Apply. In this demonstration, I have chosen server1.trentondjohnson.local
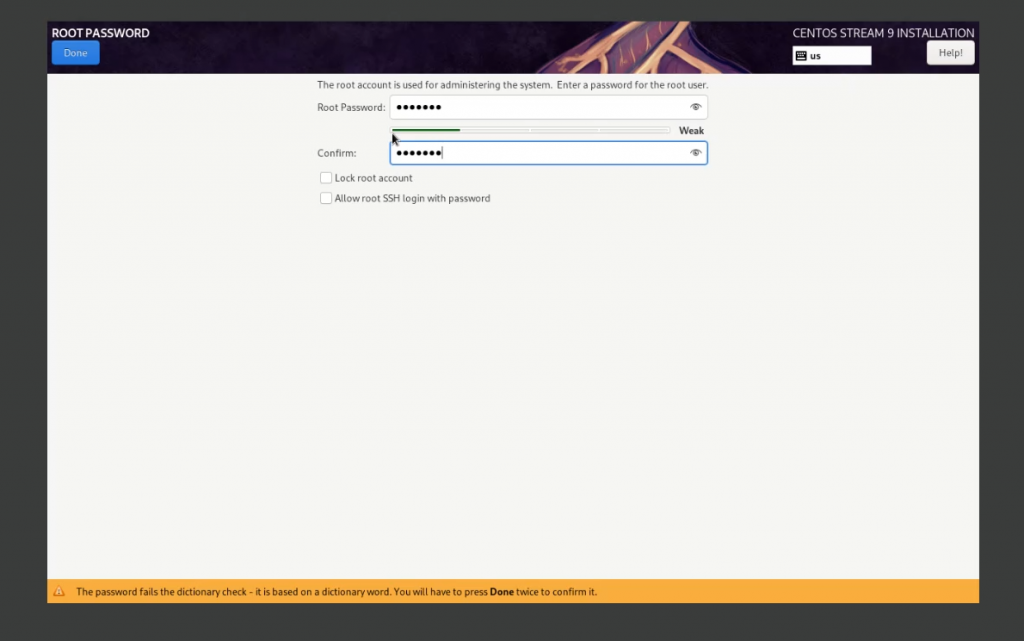
Next is Root Password. Enter a password for the root user, then click Done. You can also lock the account or allow root to login via SSH, which is not advised.
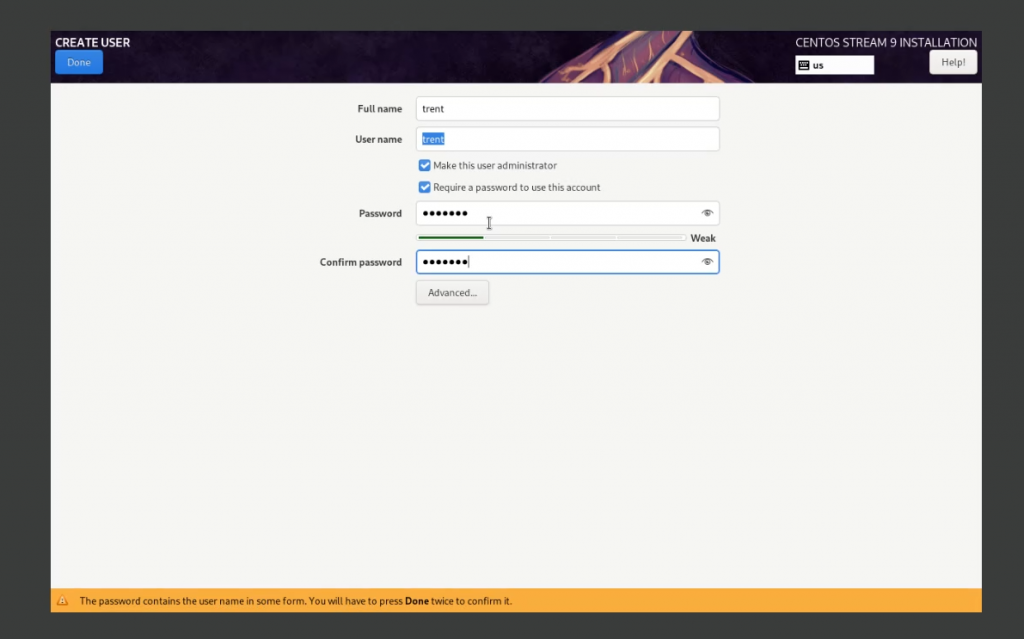
For User Creation, this is where you would create your non-root user. You have options like “Make this user administrator”, which will add it to the wheel group and give it sudo access, “Require a password to use this account”, and Advanced settings for additional groups, different home directory, etc.
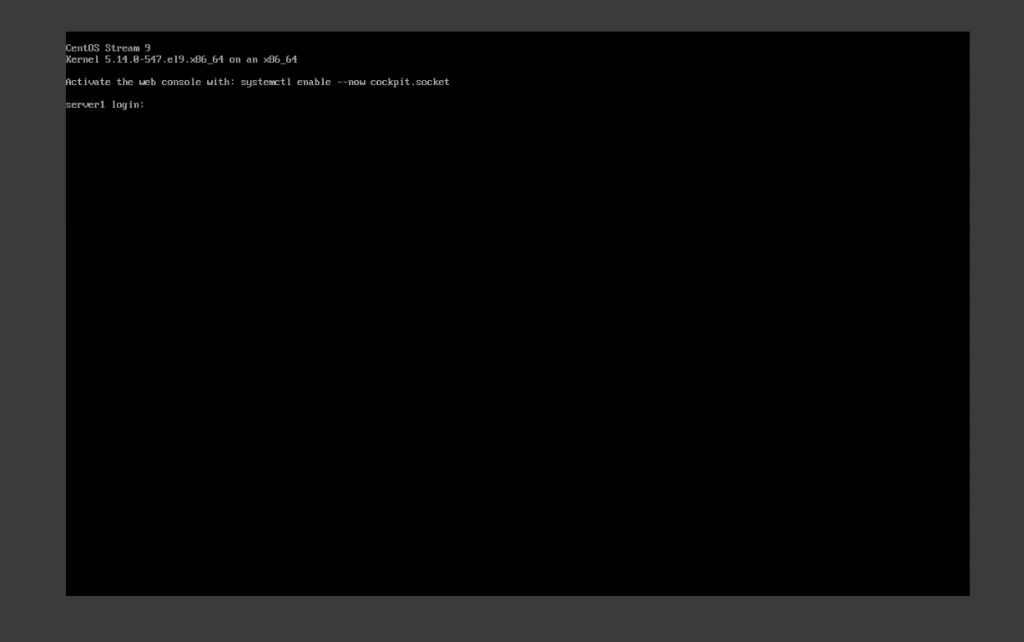
Once done, click Begin Installation. It will take roughly 5 minutes to install the OS, depending on which options you selected. Once installation is complete, click on Reboot System to boot into the newly installed OS.